Upload Files
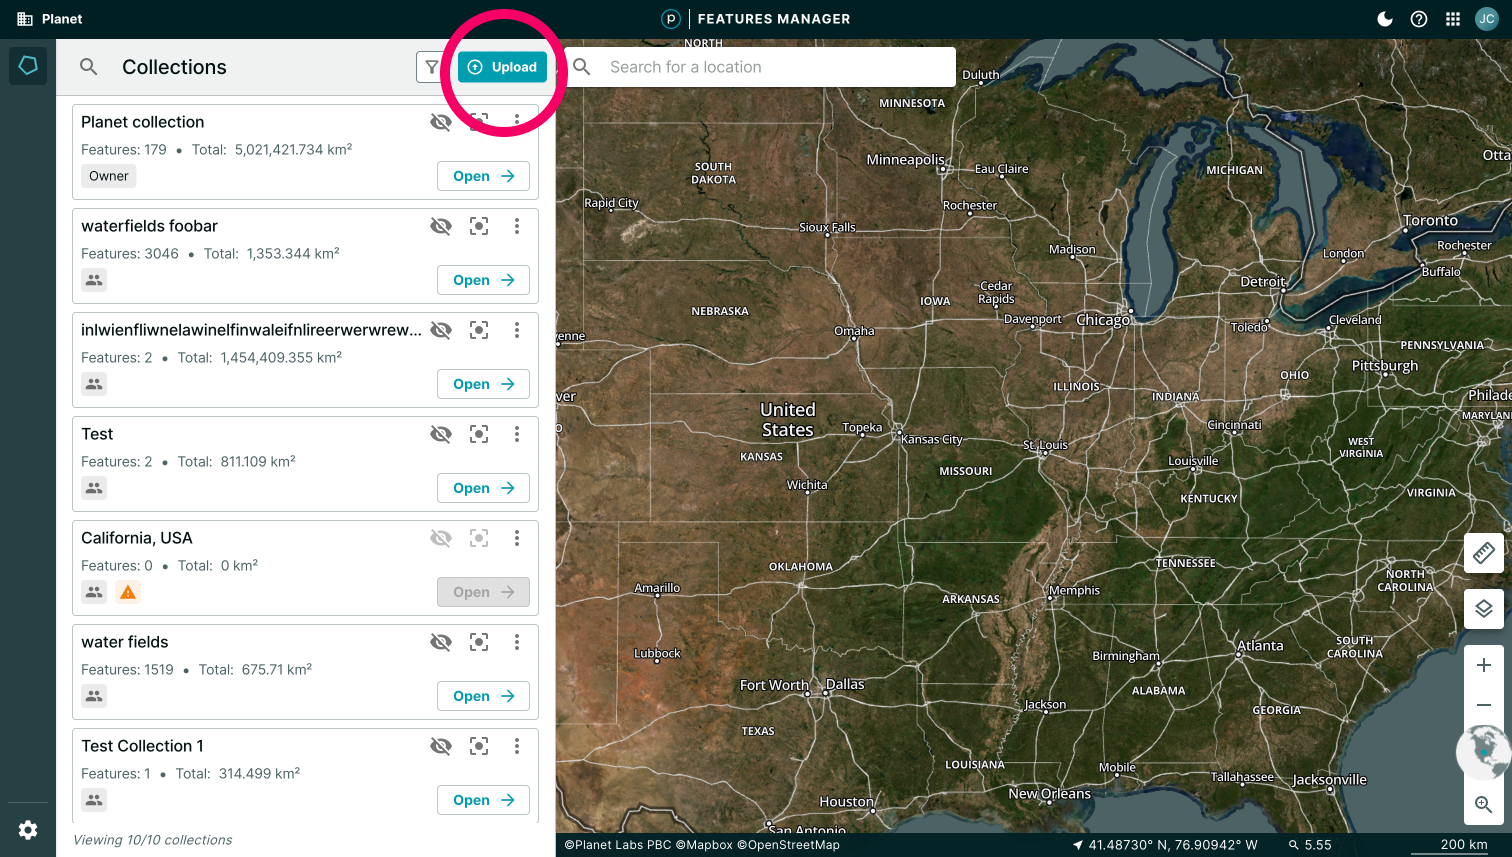
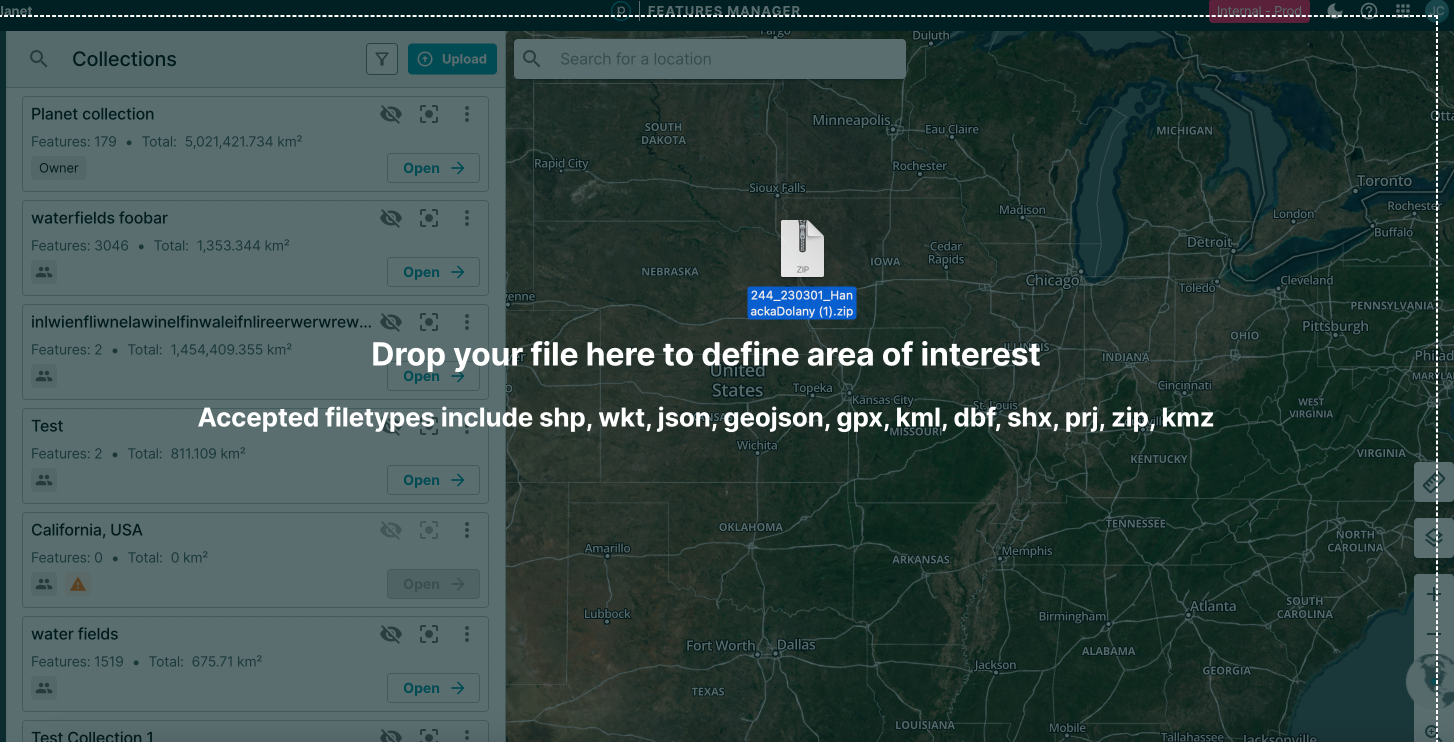
Uploading Features to Features Manager happens through the upload modal. To access the upload modal click the blue upload button in the Collections header. You can also drag and drop files into the app to upload.
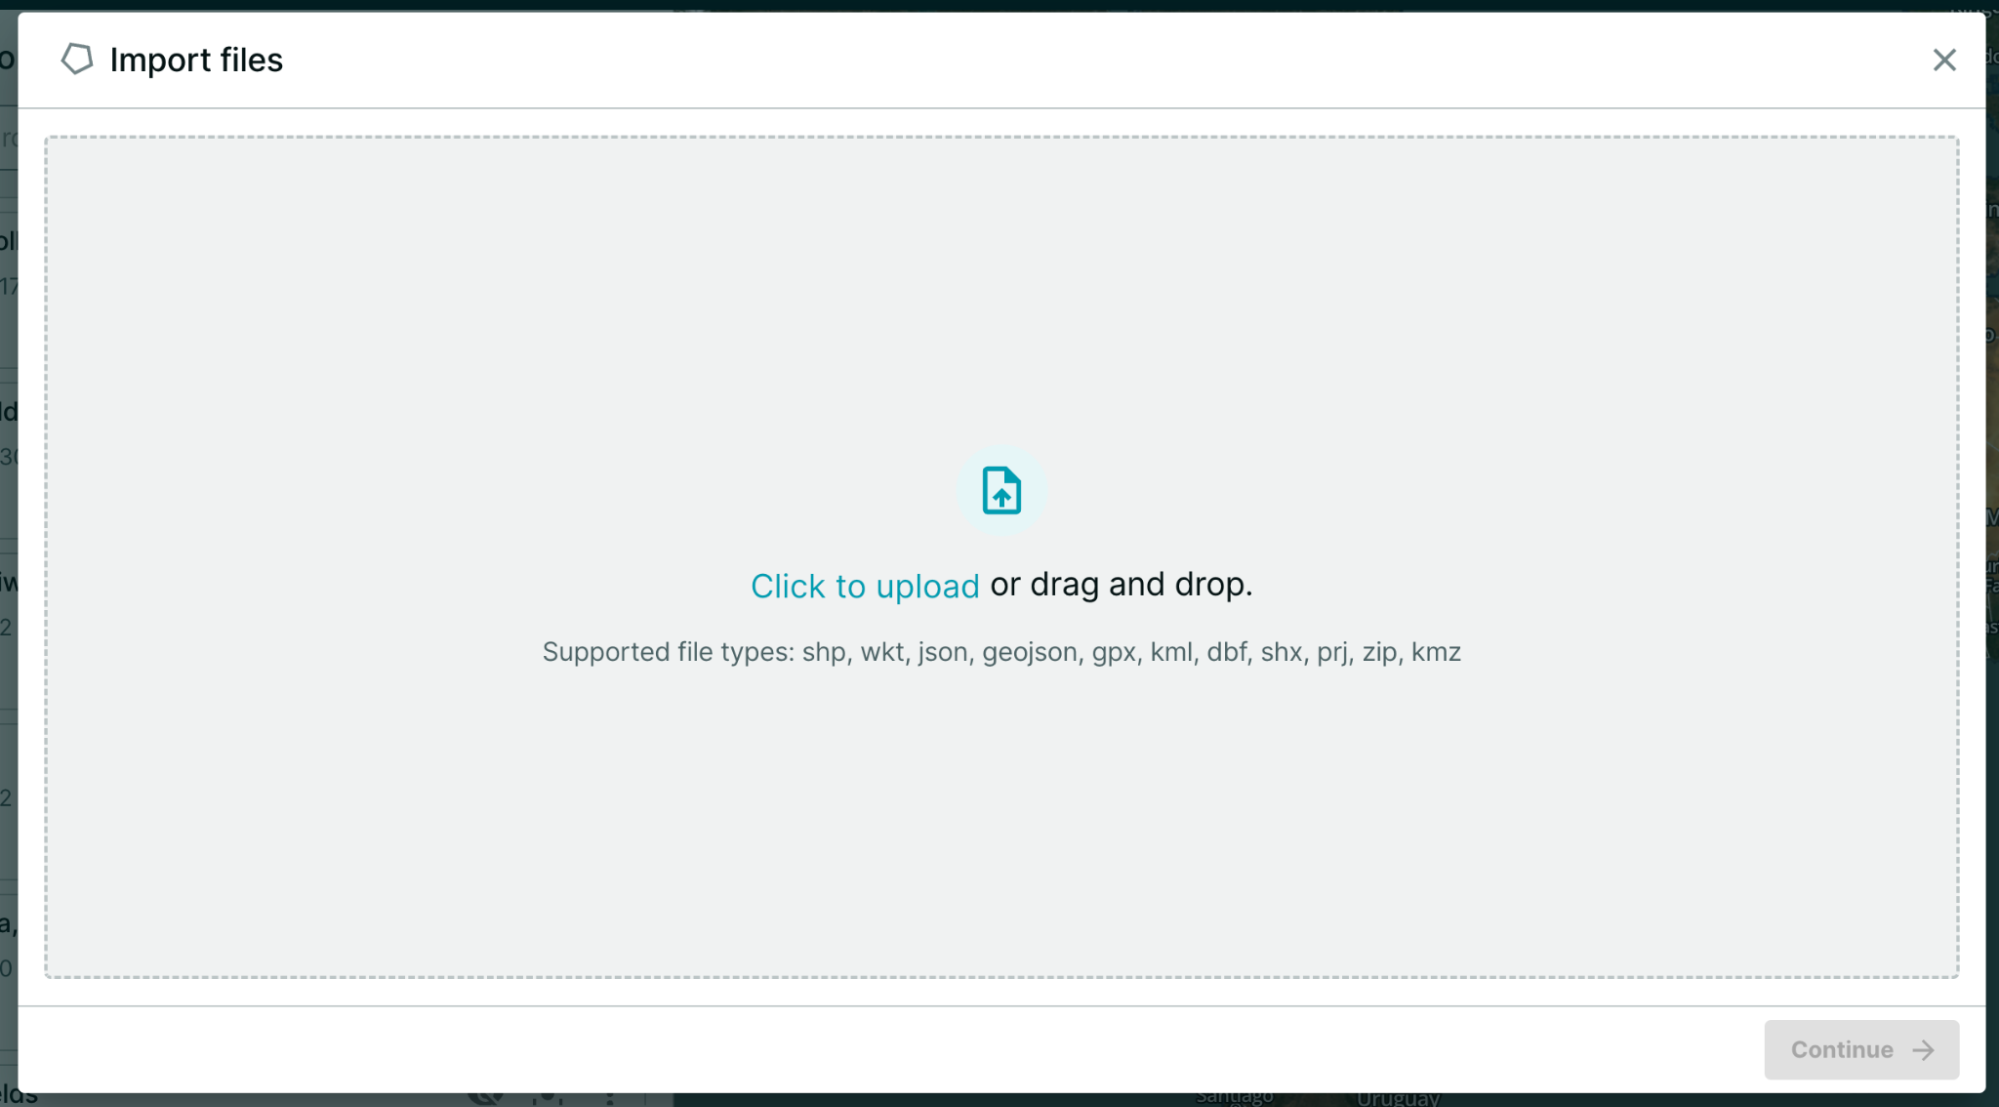
Once the upload modal is open, it will display options for uploading your Feature data. Note: You can upload multiple files at once.
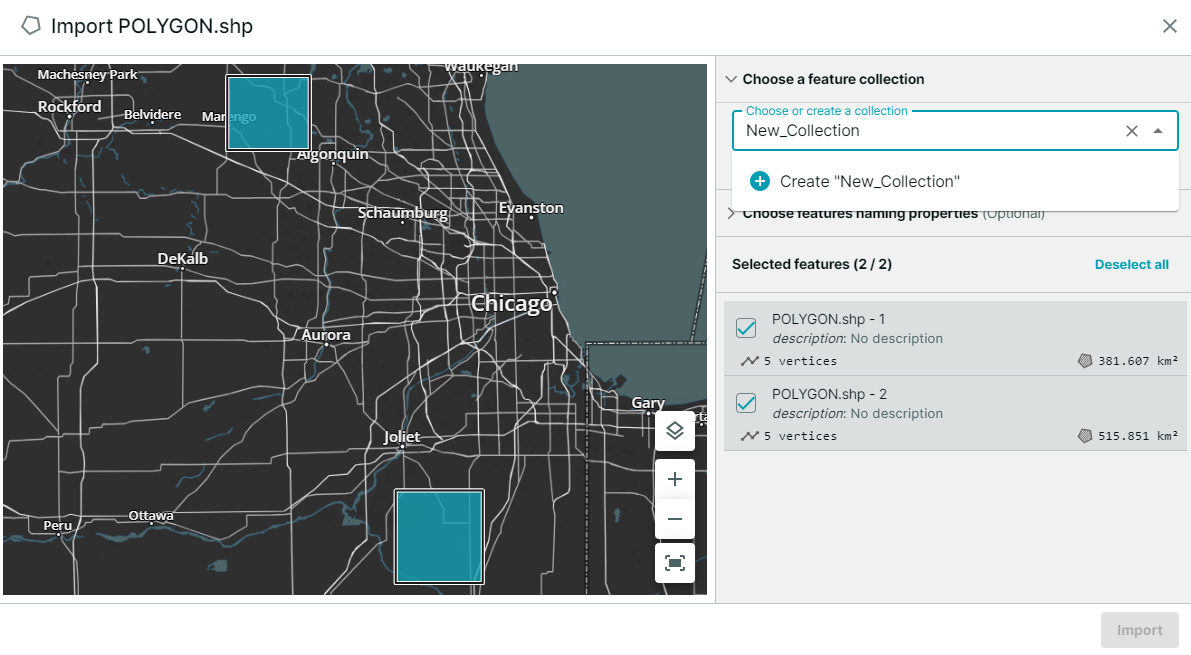
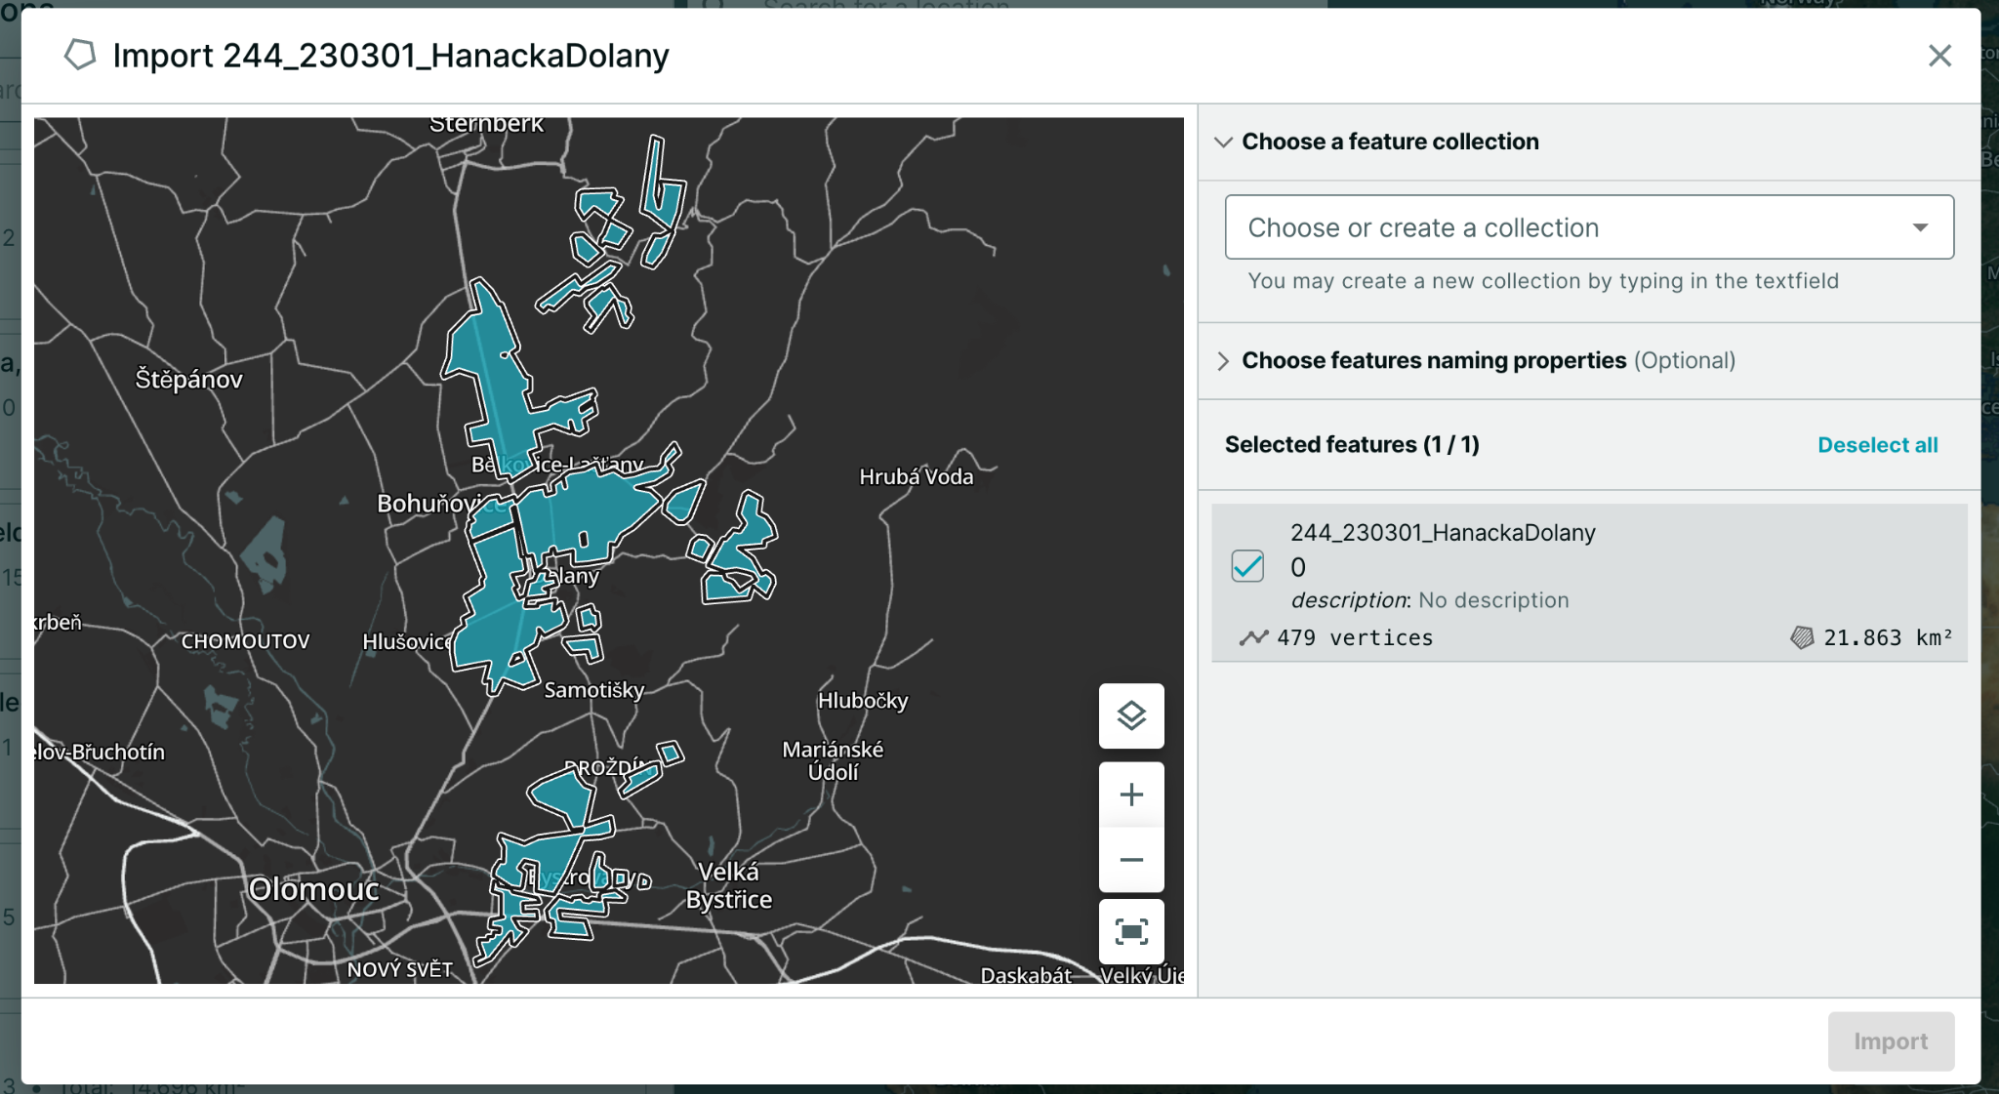
To save a Feature, you must specify an existing or create a new Feature Collection to save your Features to. In the example below, 2 polygon Features are being imported to “New_Collection”.
Supported File Formats
- GeoJSON
- Shapefile
- WKT
- GPX
- KML & KMZ
Add Metadata Properties
Supported Metadata Fields
- Title: the name of your AOI Feature (e.g., “Protected Area 5”)
- Description: a description of your AOI Feature
- ID: a unique identifier for your AOI Feature
After you upload a file, a list of geometries and their properties will be imported. You can select a property for the title and an optional property for the description that will be applied to your Features. If your file contains a name, it will be displayed. If your file does not include any properties (such as Name or Title), your features will appear numbered in a list (e.g., Feature #1). You cannot edit the name in the upload modal. However, you can edit a feature name after the upload is complete by clicking the three-dot "more" menu and selecting "Rename."
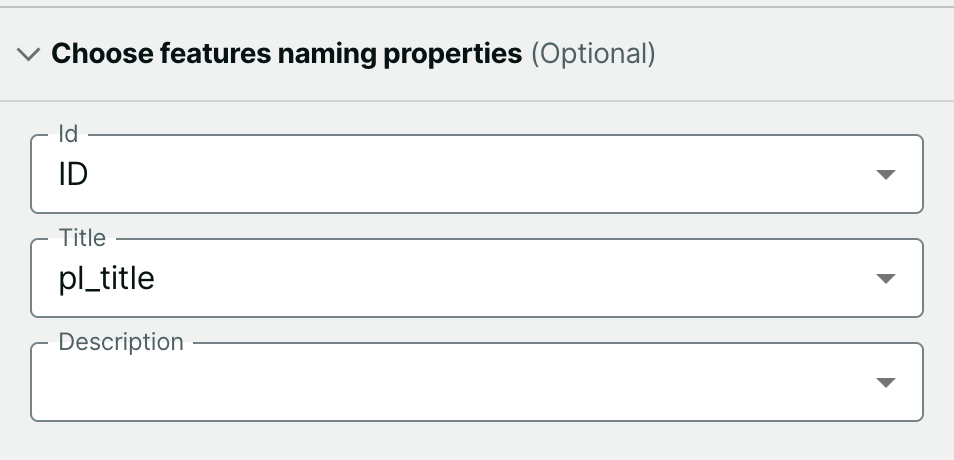
If you already have metadata included in your file, you can transfer those properties over to your saved Features using the “Choose features naming properties” tool in the upload modal. The drop-down in this modal allows you to map the metadata fields in your file to the metadata fields supported in the Features API.
Selecting Features
Selected features appear as a list with summary metadata. If you decide, you can deselect features that you don’t want to be imported from your files.
Simplification
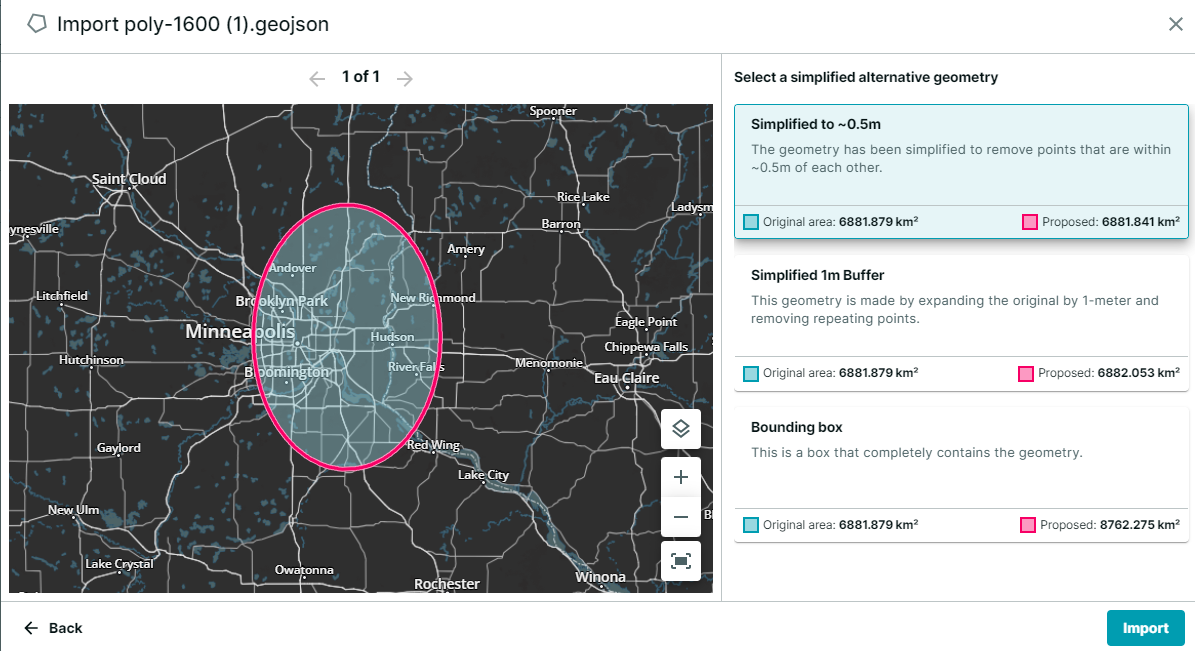
You may need to simplify your features in order to upload to the Planet Insights platform, for example, if your geometry does not adhere to Planet’s geometry rules like having less than 1,500 vertices.
Features Manager will flag any invalid geometries with orange alert icons upon import. If you select ‘Fix and import,’ Features Manager will default select the simplification method with the least additional area added. If you select, ‘Simplify manually,’ you will be prompted to simplify with various options to choose from by clicking through the options such as bounding box, or simplified 1m buffer.
If multiple geometries are complex, repeat this process for each geometry that needs to be simplified. Use the carousel arrows at the top of the map to go through the features that require simplification. Note: you have to click through all the features before you are able to import.
Saving a Collection
After adding the relevant metadata and, if applicable, simplifying geometries, click ‘Import’ to save the collection. The collection will appear at the top of the collections panel list if it’s a new collection.
We are continually working to improve our technical documentation and support. Please help by sharing your experience with us.