Installation & Configuration
To download and install the Planet QGIS Plugin, you have two options:
-
Option 1: Install directly within QGIS
-
Make sure QGIS (version 3.10 and later) is downloaded and installed. Need help? Check out our guide to installing QGIS
-
Launch QGIS and from the dropdown menus along the top, choose
Plugins --> Manage and Install Plugins.

- Search for the plugin
planet_explorer, click Install
-
After installation is complete, make sure the Planet QGIS Plugin is activated in the Manage and Install
Plugins interface (Plugins --> Manage and Install Plugins...)
Once installed, the Planet toolbar will be added to your QGIS project.

-
Option 2: Download from the Web
- You can request the QGIS Plugin by completing the form at Download the Planet QGIS Plugin.
- Once completed you will be given the option to download the file.
- Once downloaded, double click on the plugin to install it.
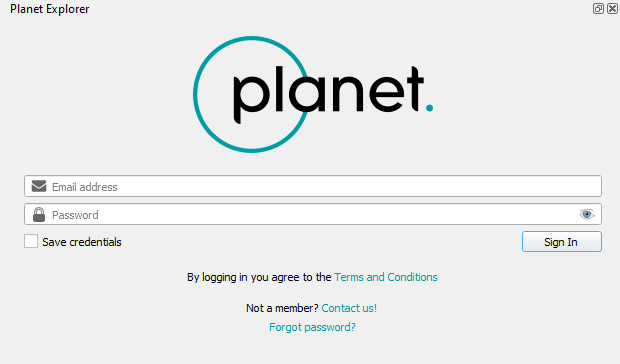
Log in to your Planet account
Once the plugin is open, you'll see a login interface. The login interface lets you log in with the email and password associated with your Planet account. Selecting the option to Save Credentials will cache your login within QGIS's authentication system to save time when working in the same project.
Enter your Planet account information, or click the Contact Us! link to be in touch with our team. Once logged in, the imagery & basemaps available to your account will be accessible.
For assistance with login issues, such as the Enter Credentials or Master Authentication pop-up, try creating a new profile or granting permissions. When creating a new profile, make sure to check and change the privileges from read-only to read and write if necessary. For detailed instructions, you can check this guide.
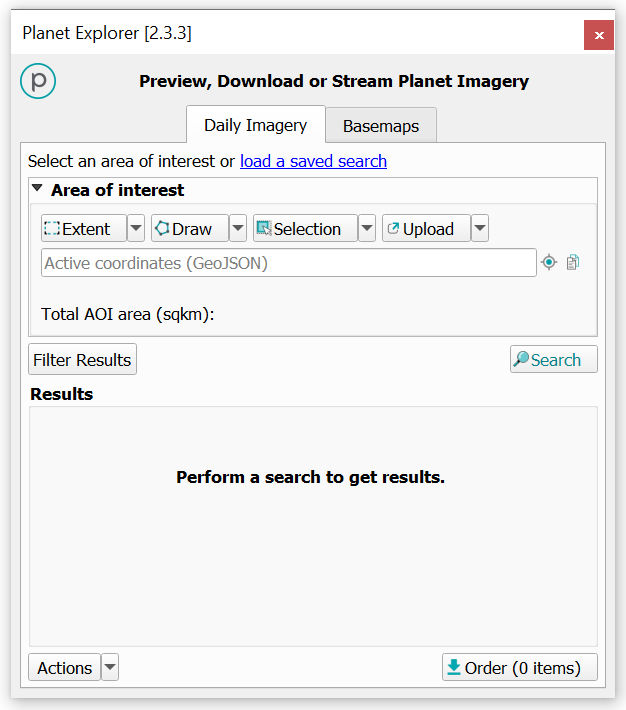
After the Planet Explorer window appears, you can search and download imagery and basemaps.
We are continually working to improve our technical documentation and support. Please help by sharing your experience with us.