Planet Add-In Interface
The Planet ribbon operates similar to the Planet Explorer website application. There are options for searching for imagery, filtering results, ordering images, and streaming preview images to the map view.
Search for Planet Imagery
The next section in the Planet Imagery ribbon is the Search for Planet Imagery tool section. In this section, you can choose to Search for Planet imagery (PlanetScope, SkySat and RapidEye) as well as imagery from the leading Open satellites (LandSat and Sentinel) using the AOI tools detailed above, or you can use the selection in another layer to create the boundaries of the search.
- Note: there is a 500 vertex limit on the Search by Selected Feature tool - you will need to either simplify your polygon or create a simple AOI to use this feature.
Regardless of which tool you choose above, the Search for Planet Imagery pane will appear in the same location as the Table of Contents panel. In this case, a simple polygon was chosen for this Search.
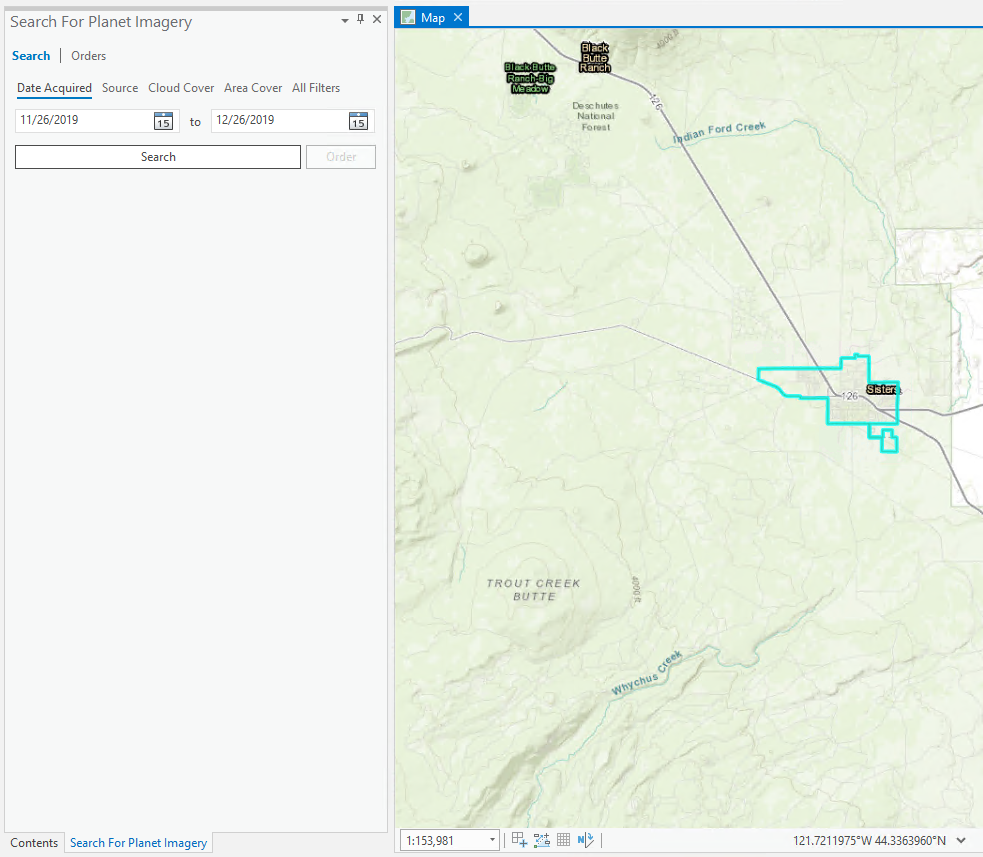
At the top of the left-hand Search for Planet Imagery pane there are two buttons: Search and Orders.
Search
This search interface provides options for a number of filters to set before the search is conducted. These parameters include Date Acquired, Source, Cloud Cover, Area Cover and a shortcut button to All Filters which includes some extra options.
Date Acquired (Range)
You can set the start and end date of your time of interest for your AOI.

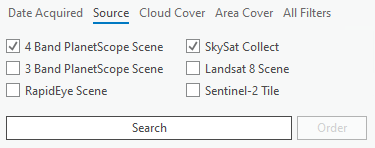
Source
You can choose which sources you are interested in.
Cloud Cover
By percentage, you can filter the imagery to have less than a certain percentage of cloud cover.

Area Cover
By percentage, you can filter the imagery to have more than a certain percentage of their area inside the AOI you are using.

All Filters
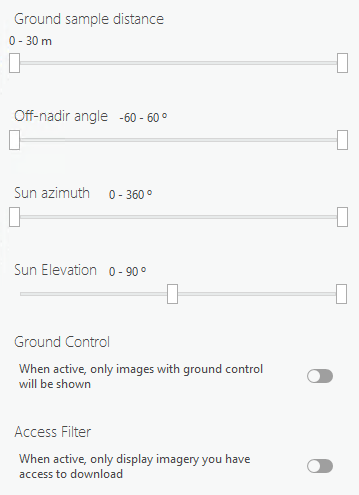
The All Filters tab includes the same filters as above (Date Acquired, Source, Cloud Cover and Area Cover - and stay pre-filled with any options you may have chosen in those tabs). More filtering options are available in this tab, including Ground Sample Distance, Off-nadir Angle, Sun Azimuth, Sun Elevation as well as toggling on/off Ground Control and Access Filter.
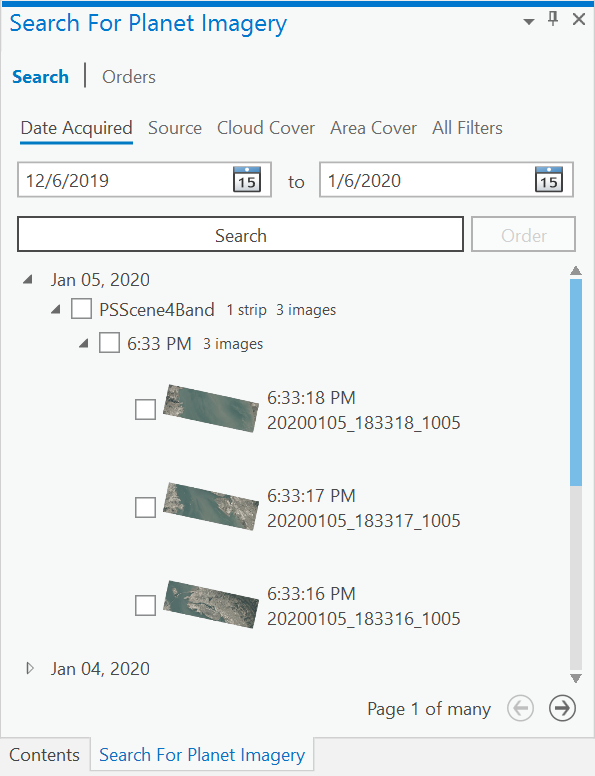
When all filters and requirements are set, click the Search button to display imagery that meets the criteria.
Orders
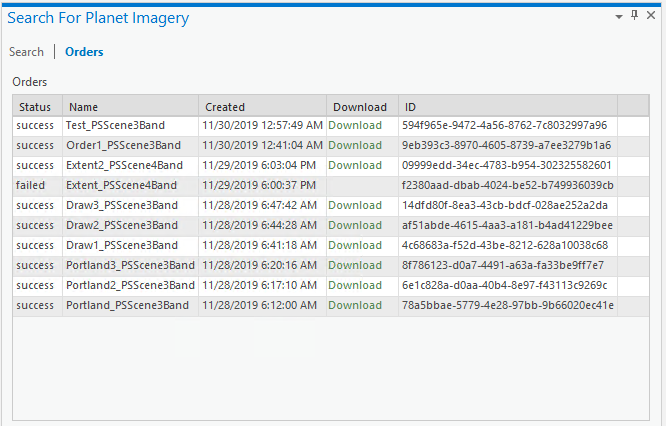
To the right of the Search tab is the Orders tab. Clicking on the Orders tab shows the Orders and Downloads interface. Under the Orders header, you will see the orders you have placed, their status, and if successful, a link to Download the data. Farther to the right in the Orders table, you will see the unique ID of each image.
Once you click the Download link, a browse window will open and you can choose where to save the files.
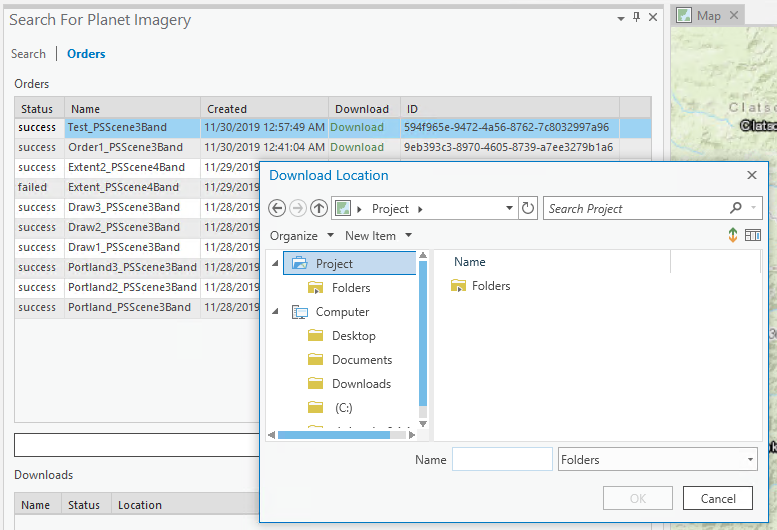
When you have chosen a location, click OK. The imagery will begin downloading, and you should see a status appear in the lower Downloads header.

When the imagery has been successfully downloaded, the status should read Archive extracted; added to project, along with the local path to the imagery.
Planet Info
The last section of the Planet Imagery ribbon is the Planet Info button.

Clicking on this button reveals several links to helpful and useful Planet sites, including Planet.com, Imagery Product Specifications, Support Community, Documentation and the Terms of Service. Clicking on any of these links will open a new browser window for that site.

Rate this guide: